Functional programming in Swift: Introduction
Before you dive in to the first article in this course, I want to give you a brief overview of our goals, how the content is structured, as well as a rough idea of what you can expect to find.
Watch the video here, or read the article below
Quick links
Why functional?
There are lots of ways of thinking about programming, and you’ll often hear folks use terms such as imperative programming or declarative programming. Functional programming is one such approach, but it doesn’t really have a clear-cut definition – it’s a little bit fuzzy, so that the exact definition one person gives is unlikely to match the definition from someone else.
But that’s okay; definitions don’t really help much anyway, not unless you’re planning to sit an exam. Instead, I’m always much more interested in help you understand things in practice: I want you to see real functional Swift in action so the benefits are obvious to you, I want to give you hands-on examples even for the most advanced topics so you can get them into your own projects straightaway, and although I want to show you lots of “how” I also I want to give you as much why as I can – I want you to understand the underlying principles that are at play, so you feel confident in discussing and using functional programming at every level.
Lightweight encounters
I taught some functional programming in my book Pro Swift, and we’re going to use a similar approach here – at least to start with. That approach is based on something I was introduced to by Andy Matuschak, who used to work on the UIKit team at Apple.
The approach we’ll be starting with is called “lightweight encounters”, and it means we start by looking at functional programming purely in terms of practical benefits – we’ll pick off one small task, look at how we can solve it without functional programming, then upgrade our code to have a more functional approach. This “before and after” should mean you can see the benefits of functional programming for yourself, and also give you lots of places where you can get quick wins in your own code.
So, that’s a very similar approach to Pro Swift. However, here that’s just our starting point – as this course progresses we’re going to push further and further past lightweight encounters so you understand all the theory as well as the practice.
Now, that doesn’t mean we’re going to drift off into academia: everything we do will have a firm basis in Swift code you can try for yourself, and in fact I really do encourage you to try the code yourself so you can toy around with it and get a stronger grasp.
Stop when you’re ready
This course is structured so that it more or less gets steadily more complex as we progress. This means the whole first chunk of videos should be really useful to everyone, so you can just dive in and explore. As we progress you’ll feel the difficulty ramp up little by little and there might come a point where you think you’ve had enough – that you’ve already got enough benefit from the course, and are happy to move on to something else.
What I want to say is this: it’s okay to stop when you’re ready. Whenever that point is – whenever you think you’ve gained enough from this course to make a significant difference to your code – it’s okay to move on to something else. Obviously I hope you’ll continue get to the end and find value all the way, but if you’re sitting there thinking “this is hard” or – worse – “will I ever use this?” then chances are you’re not learning too much.
Don’t beat yourself up. Take a break, apply what you’ve learned, and reap the benefits of that – once you’re a bit further along you might find you can come back with fresh eyes and get a whole new round of benefits.
Releasing installments
This course is being published in installments, and although the exact release schedule will fluctuate a little depending on topic difficulty, you should be able to come and get new videos regularly.
However, if you are following along as videos are being published, this is a great chance for you to write in to ask for something specific. I’m happy to hear suggestions, as long as they align my goal of teaching theory and practice hand in hand.
Take your time
And finally, I want to remind you again that the most important thing you can do in this course is apply what you learn.
We all rely on muscle memory to make our jobs faster and easier, which means when it comes to solving a problem we naturally rely on approaches that worked previously. In this course we’ll be covering a huge range of techniques, and if you just fly through the material as fast as you can chances are you won’t retain much – it might be fun to learn, but it won’t really stick.
Instead, your goal should be to try to build new muscle memory: to slowly retrain your brain that there are newer, better ways of solving problems, so that over time you reach for functional programming techniques first and instinctively. The only way to do this is to apply, apply, and apply some more – as soon as you finish one part of this course, have a think about where you can try it out in your own projects, so that not only can you refer back to these articles in the future but you can also look at your own code.
Anyway, I hope you enjoy the course, and more importantly that you find lots of real-world success with functional programming!
If you liked this, you'd love Hacking with Swift+…
Here's just a sample of the other tutorials, with each one coming as an article to read and as a 4K Ultra HD video.
Find out more and subscribe here
23:07
ADVANCED SWIFT
FREE: Making the most of optionals
Swift’s optionals are implemented as simple enums, with just a little compiler magic sprinkled around as syntactic sugar. However, they do much more than people realize, and in this article I’m going to demonstrate some of their power features that can really help you write better code – and blow your mind along the way.
24:11
ADVANCED SWIFT
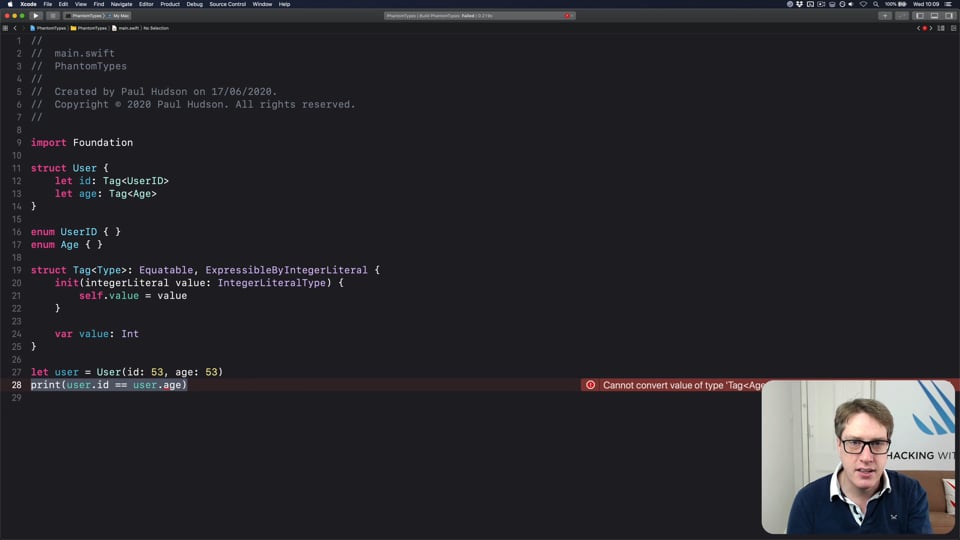
FREE: How to use phantom types in Swift
Phantom types are a powerful way to give the Swift compiler extra information about our code so that it can stop us from making mistakes. In this article I’m going to explain how they work and why you’d want them, as well as providing lots of hands-on examples you can try.
36:18
HIGH-PERFORMANCE APPS
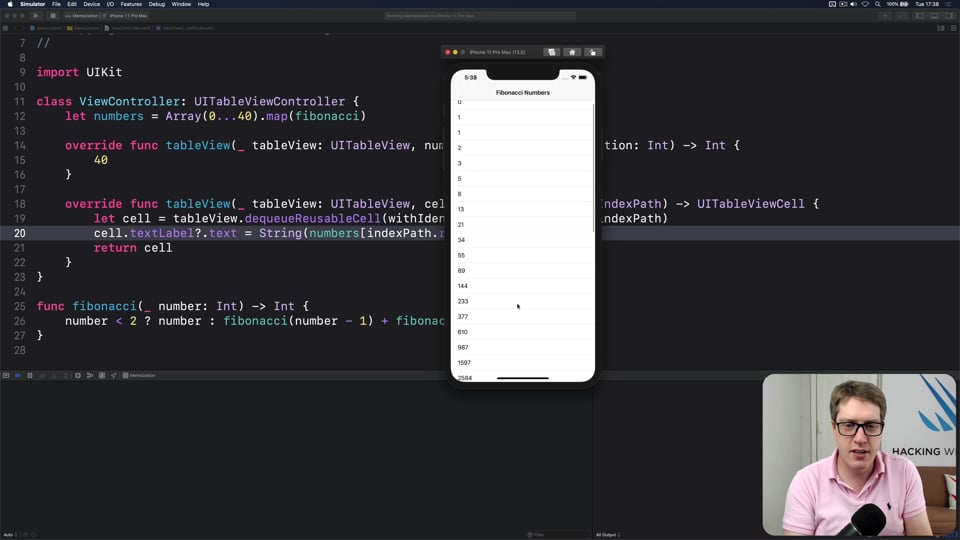
FREE: Using memoization to speed up slow functions
In this article you’ll learn how memoization can dramatically boost the performance of slow functions, and how easy Swift makes it thanks to its generics and closures.
14:20
INTERMEDIATE SWIFTUI
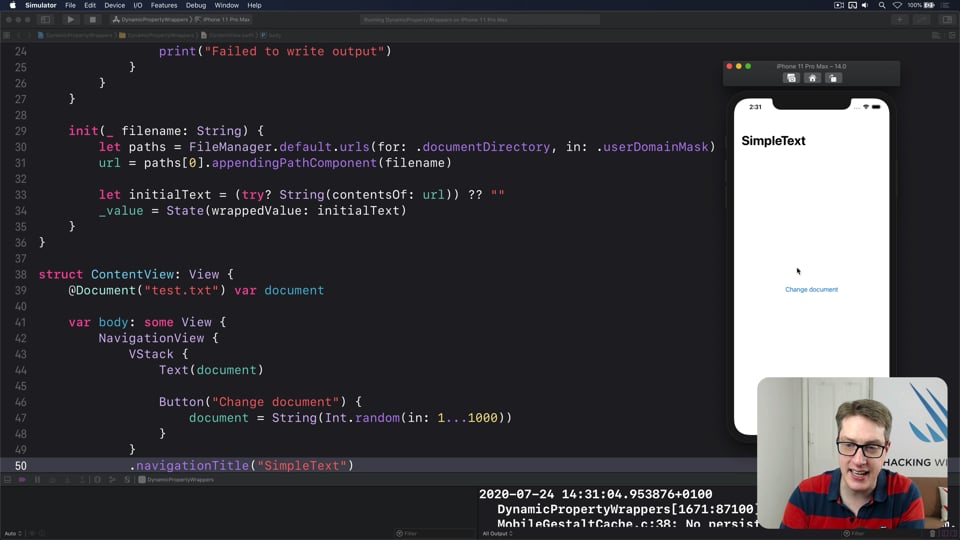
FREE: Creating a custom property wrapper using DynamicProperty
It’s not hard to make a basic property wrapper, but if you want one that automatically updates the body property like @State you need to do some extra work. In this article I’ll show you exactly how it’s done, as we build a property wrapper capable of reading and writing documents from our app’s container.
19:50
SWIFTUI SPECIAL EFFECTS
FREE: Shadows and glows
SwiftUI gives us a modifier to make simple shadows, but if you want something more advanced such as inner shadows or glows, you need to do extra work. In this article I’ll show you how to get both those effects and more in a customizable, flexible way.
14:26
NETWORKING
FREE: User-friendly network access
Anyone can write Swift code to fetch network data, but much harder is knowing how to write code to do it respectfully. In this article we’ll look at building a considerate network stack, taking into account the user’s connection, preferences, and more.
11:03
ULTIMATE PORTFOLIO APP
FREE: Ultimate Portfolio App: Introduction
UPDATED: While I’m sure you’re keen to get started programming immediately, please give me a few minutes to outline the goals of this course and explain why it’s different from other courses I’ve written.
42:32
FUNCTIONAL PROGRAMMING
FREE: Transforming data with map()
In this article we’re going to look at the map() function, which transforms one thing into another thing. Along the way we’ll also be exploring some core concepts of functional programming, so if you read no other articles in this course at least read this one!
20:01
INTERMEDIATE SWIFT
FREE: Understanding generics – part 1
Generics are one of the most powerful features of Swift, allowing us to write code once and reuse it in many ways. In this article we’ll explore how they work, why adding constraints actually helps us write more code, and how generics help solve one of the biggest problems in Swift.
32:08
CUSTOM SWIFTUI COMPONENTS
FREE: Creating a WaveView to draw smooth waveforms
In this article I’m going to walk you through building a WaveView with SwiftUI, allowing us to create beautiful waveform-like effects to bring your user interface to life.
31:55
DATA STRUCTURES
FREE: Trees
Trees are an extraordinarily simple, extraordinarily useful data type, and in this article we’ll make a complete tree data type using Swift in just a few minutes. But rather than just stop there, we’re going to do something quite beautiful that I hope will blow your mind while teaching you something useful.
3:54
INTERVIEW QUESTIONS
FREE: Interview questions: Introduction
Getting ready for a job interview is tough work, so I’ve prepared a whole bunch of common questions and answers to help give you a jump start. But before you get into them, let me explain the plan in more detail…
27:33
INTERMEDIATE SWIFT
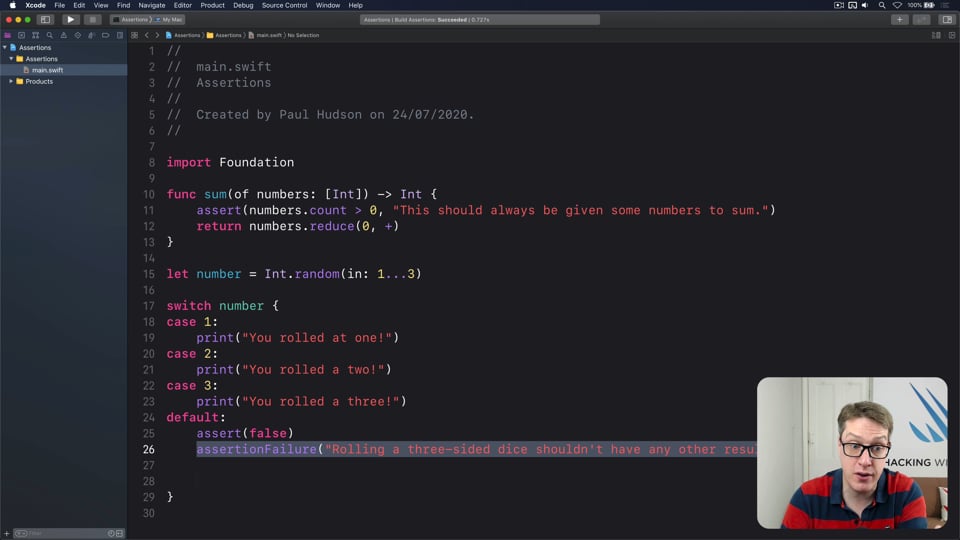
FREE: Understanding assertions
Assertions allow us to have Swift silently check the state of our program at runtime, but if you want to get them right you need to understand some intricacies. In this article I’ll walk you through the five ways we can make assertions in Swift, and provide clear advice on which to use and when.
1:10:04
LIVE STREAMS
RegexCoach
In this stream we’re going to build a SwiftUI app that lets the user experiment with regular expressions: searching for patterns, matching groups, and even generating Swift code.
2:38
INTERVIEW QUESTIONS
Can you explain MVVM, and how it might be used on Apple's platforms?
As with so many good interview answers, you should aim to provide a succinct summary first, then expand on your answer with some specifics and examples, and finally get into more nuanced territory based on your real-world experiences.

2:01
INTERVIEW QUESTIONS
What problem does optional chaining solve?
Swift’s optionals are a real power feature of the language, but without direct compiler support they would be quite onerous. Optional chaining is one part of that support, so be prepared to answer exactly what part it plays.

1:40
INTERVIEW QUESTIONS
Do you have any favorite Swift newsletters or websites you read often?
This question is really two separate things in one: are you the kind of person who actively keeps learning about what’s happening in Swift, and do you try to be part of the community?
13:10
ULTIMATE PORTFOLIO APP
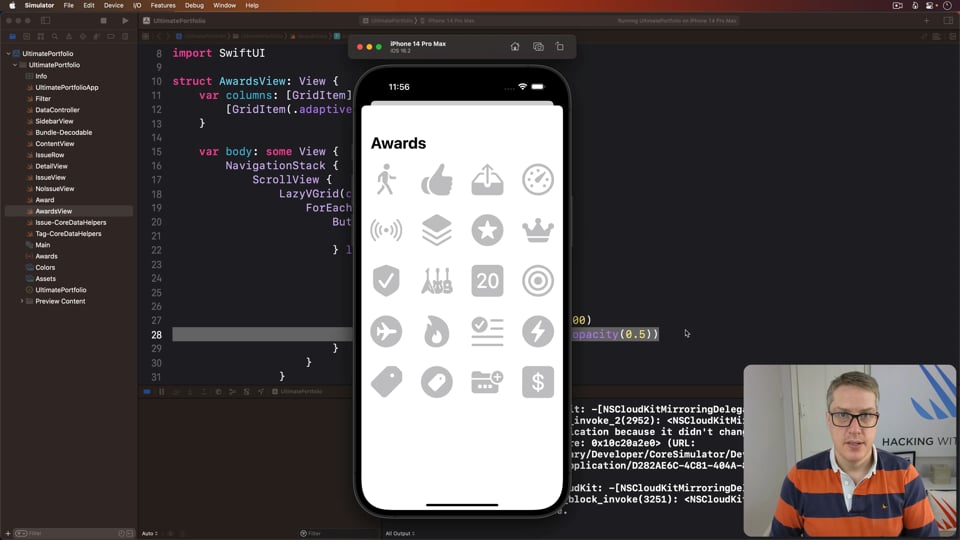
Earning awards
UPDATED: Now that we’ve designed a basic awards UI, we can bring it to life with some Core Data queries to determine which awards have actually been earned.

2:48:37
LIVE STREAMS
Dcode
In this article we’re going to build a tool aids in the decryption of popular ciphers, including Caesar shift, columnar transposition, and Vigenère – all while leaning heavily on Apple’s Swift Algorithms package.
18:35
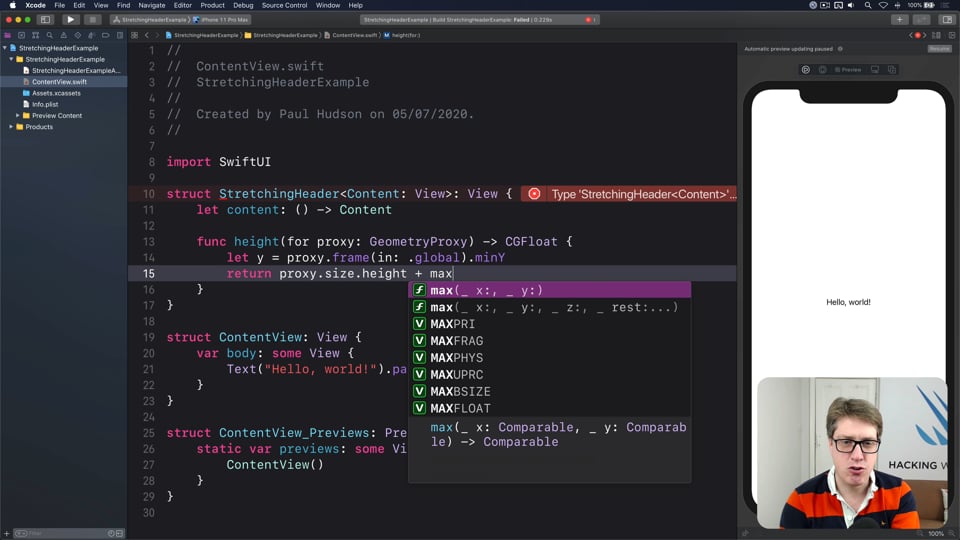
CUSTOM SWIFTUI COMPONENTS
Creating a StretchingHeader that sticks to the top of a view
When users scroll beyond the top of a scroll view the default behavior is to show some empty space, but many apps prefer to show a stretchy header area instead. In this article I’ll show you how to build that SwiftUI, making an image that stays fixed to the top no matter what.